

Table of Contents
- Where to Buy Antique Fire Helmet Parts: Your Complete Sourcing Guide
- How to Restore Old Fire Helmets: Essential Parts and Supplies
- Understanding Fire Helmet Brass Front Holder Replacement Options
- Custom Leather Fire Helmet Accessories: Quality and Compatibility
- Sourcing Authentic vs. Reproduction Parts: What to Know
- Safety Standards and Compatibility for Antique Helmets
- Common Mistakes When Sourcing Antique Fire Helmet Parts
- Conclusion
- Frequently Asked Questions
Last Updated: September 24, 2026
Where to Buy Antique Fire Helmet Parts: Your Complete Sourcing Guide
Finding quality antique fire helmet parts requires knowing where to look and what to expect from different suppliers. Whether you're restoring a vintage fire helmet or upgrading your current gear with classic accessories, sourcing authentic components is essential for maintaining both functionality and historical accuracy.
The main challenge is finding parts that fit your helmet and meet professional standards. Many firefighters waste money ordering incompatible brass front holders or leather accessories that don't align with their helmet's suspension system. This guide covers legitimate sources for antique fire helmet parts, how to evaluate them, and critical compatibility questions to answer before purchasing.

How to Restore Old Fire Helmets: Essential Parts and Supplies
Restoring old fire helmets means understanding which components need replacement and how to install them safely. The most common wear points are the leather brim, chin strap, interior liner, and mounting hardware.
The restoration process involves four stages: assess structural integrity, source matching parts, disassemble worn components carefully, and install new parts using period-appropriate methods.
Removing Old Chin Straps Without Damage
The chin strap often fails first. Most antique helmets use brass rivets at two points on either side. Examine the attachment method before removal.
Drill out old rivets with a bit slightly smaller than the rivet diameter, keeping the drill perpendicular to avoid gouging the shell. Gently peel away the old strap. If stuck, use a plastic scraper, never metal, to avoid scratching the finish.
Inspect rivet holes for damage. If enlarged or cracked, drill new holes slightly offset. Clean adhesive residue with a soft cloth and appropriate solvent.
Installing a Reproduction Chin Strap
Verify the new chin strap fits your helmet's attachment points. Measure the distance between mounting holes on each side, this varies by manufacturer and era. Quality reproduction straps include pre-drilled holes or clear instructions.
Mark hole locations with a pencil. Drill carefully with a bit slightly smaller than brass rivets. Insert rivets from outside, place a backing tool inside, and set with a rivet gun or hammer. Aim for a snug fit without over-tightening, which can crack the leather or shell.
Test for movement. A properly installed strap should be secure but allow slight flexing.
Replacing Interior Liners and Suspension Webbing
Interior liners deteriorate from sweat, moisture, and age. Carefully peel away the material without damaging the shell's interior. Most are glued, so work slowly with a plastic scraper. Apply gentle heat if adhesive is stubborn.
Clean the interior thoroughly with a soft cloth. Remove adhesive residue with appropriate solvent, testing on a hidden area first.
Size new liners to your helmet model. Measure interior dimensions and compare against specifications before ordering. Apply adhesive per manufacturer instructions, pressing firmly from center outward. Allow 24 hours to cure before wearing.
Replace suspension webbing alongside the liner. Use heavy cotton or synthetic materials rated for helmet use. Attach with rivets or stitching, never adhesive alone.
Restoring Leather Brims and Trim
Leather brims experience the most visible wear. Replace if cracked, peeling, or severely deteriorated. If structurally sound but discolored or stiff, try conditioning.
Identify how the brim attaches, most are riveted or stitched around the perimeter. Drill out rivets carefully or cut stitching. Clean the attachment area.
Match the original dimensions and attachment method. Mark holes, spacing them evenly (1 to 1.5 inches apart) if riveting. Use waxed thread and saddle stitch if stitching for durability.
Common supplies include replacement leather, suspension webbing, brass rivets (3/32-inch), conditioning products, adhesive, waxed thread, and a rivet gun. Work with suppliers who understand historical context, as incorrect materials compromise appearance and safety.
Understanding Fire Helmet Brass Front Holder Replacement Options
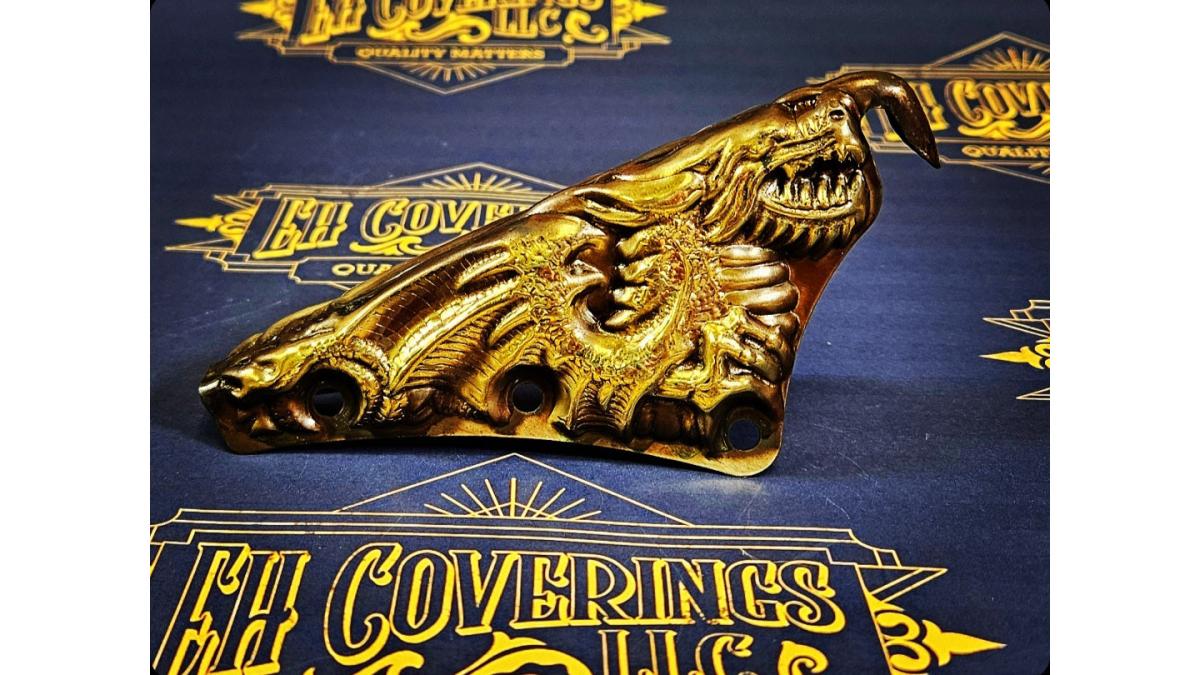
A brass front holder displays the department insignia and mounts to the helmet shell using rivets. Front holder compatibility is the most misunderstood aspect of helmet restoration, purchasing without verifying fitment wastes money and causes frustration.
Helmet Model and Mounting System Variations
Different manufacturers use different mounting systems. A front holder designed for one brand won't fit another without modification. Understand these differences before purchasing.
MSA Helmets use a two-point rivet mounting system with holes spaced approximately 2.5 inches apart. Some models use a three-point system with a center rivet for additional stability.
Cairns Helmets use a similar two-point system with hole spacing of 2.75 inches, positioned slightly higher than MSA equivalents.
Morning Pride Helmets use clip-on or bolt-mounted systems rather than rivets.
Measuring Your Helmet for Compatibility
Measure your helmet's mounting hole spacing using a ruler or calipers. Measure from the center of one hole to the center of the other, recording to the nearest 1/16 inch.
Reproduction Front Holders and Compatibility
Quality reproduction brass front holders use universal mounting systems to fit multiple brands. However, a truly universal holder typically fits MSA and Cairns but may require modification for vintage or Morning Pride helmets.
Vintage and Antique Front Holders
Authentic vintage front holders cost $150 to $400 depending on condition. They carry historical significance but may not suit active service due to age-related brittleness or corrosion.
Installation Considerations
Custom Leather Fire Helmet Accessories: Quality and Compatibility
Custom leather accessories transform a standard-issue helmet into a personalized piece of gear that reflects your department's identity or your individual style. The most common custom leather items are brims, chin straps, and side trim bands. These components experience significant wear from daily use, weather exposure, and handling, so quality matters.
Sourcing Authentic vs. Reproduction Parts: What to Know
The antique fire helmet parts market includes both authentic vintage components and modern reproductions designed to match historical specifications. Understanding the difference helps you make informed decisions about what you're buying and what you're actually getting.
Safety Standards and Compatibility for Antique Helmets
Using antique parts on in-service helmets requires understanding current safety standards and departmental regulations. Many departments restrict modifications, and incompatible components could violate policies.
Common Mistakes When Sourcing Antique Fire Helmet Parts
The most frequent mistake is purchasing parts without verifying compatibility. Firefighters assume parts will fit, then discover they require modification or don't align. This wastes money and creates frustration.
Conclusion
Sourcing antique fire helmet parts requires patience, research, and clear communication with suppliers who understand your specific needs. The best sources combine quality materials, proven manufacturing techniques, and genuine compatibility with industry-standard helmets. EH Coverings offers American-made brass front holders starting at $45.00, custom leather accessories, and replacement hardware engineered to fit MSA, E.H. Coverings, Cairns, and Morning Pride helmets.
Frequently Asked Questions
What are the main parts of an antique fire helmet that need replacement?
The most commonly replaced components on vintage fire helmets include the helmet liner (heavy duty cotton lining that deteriorates over time), chin straps that lose elasticity, leather brims that crack or fray, brass hardware and D-rings that corrode, and the suspension system that supports the helmet's inner structure. The leather shell itself may also need restoration through professional refurbishment. Understanding which parts wear first helps you prioritize restoration work and source the right replacements for your specific helmet model.
How do I know if antique fire helmet parts are authentic versus reproduction?
Authentic antique fire helmet parts show signs of age-appropriate wear, use period-correct materials like heavy duty cotton lining and hand-stitched leather, and match the manufacturing standards of their era. Reproduction parts are typically newer, more uniform in appearance, and may use modern materials or construction methods. Check hardware patina, examine stitching patterns, verify maker's marks, and research the specific helmet model's original specifications. When sourcing from reputable suppliers, ask for documentation about the part's age and origin to confirm authenticity before purchasing.
Will aftermarket antique fire helmet parts fit my vintage helmet without modification?
Compatibility depends on your specific helmet model and the part type. Brass front holders, D-rings, and suspension systems vary by manufacturer, helmets from different eras or makers may have different mounting points. Before purchasing replacement parts, identify your helmet's exact model and manufacturer (common brands include MSA, E.H. Coverings, Cairns, and Morning Pride). Many quality suppliers offer parts designed to fit multiple standard helmet styles, but custom fitting or minor modifications may be necessary. Always verify compatibility specifications before ordering to avoid costly returns or fitting issues.
What should I expect to pay for quality antique fire helmet parts?
Pricing varies based on part type and quality. Basic hardware replacements like brass rivets start around $6, while brass seam bands cost approximately $23. Carved brass front holders range from $45 and up. Leather brims and custom restoration work command higher prices, typically $150 or more depending on complexity and materials. Original antique parts from specialty dealers may cost significantly more than reproductions. Investing in quality parts ensures durability and period-correct restoration, which is especially important if you're preserving a collectible helmet or maintaining a working firefighter's helmet for career-long use.