

Table of Contents
- The History of Brass in Firefighting Gear
- Types of Brass Helmet Hardware
- Why Choose Brass Helmet Hardware Over Plastic or Steel
- How to Install Brass Hardware on Your Helmet
- How to Polish Fire Helmet Brass
- Fire Helmet Brass Band Conversion
- Best Fire Helmet Front Holders for Your Career
- Frequently Asked Questions
Last Updated: September 14, 2026
The History of Brass in Firefighting Gear
Brass has held a place on the American fireground since the era of hand-drawn engines, when polished metal was a point of pride and a way to spot a helmet through smoke. Early leather helmets were held together with brass rivets and topped with brass front holders, and the material stuck because it survived heat, water, and decades of abuse. Many departments still treat a polished brass front piece as a mark of tradition and rank, which is why brass helmet hardware remains the standard for serious-looking gear.

Types of Brass Helmet Hardware
Brass helmet hardware covers the small metal components that hold a leather helmet together and give it its identity. It breaks into two groups: front holders and mounting studs, and seam bands with their rivets.
Front Holders and Mounting Studs
A front holder is the shield-shaped bracket that carries your front piece, the numbered or named plate on the crown. Mounting studs and rivets hold it to the leather. It is the most visible hardware you own, so it takes the most wear.

Seam Bands, Split Rivets, and Dome Head Rivets
Seam bands run along the helmet's seams to reinforce the leather and prevent it from spreading. Split rivets bend open inside the shell to lock in place, while dome head rivets give a smooth exterior finish. Worn bands and loose rivets fail first on older helmets, making them the most common replacement parts.
Why Choose Brass Helmet Hardware Over Plastic or Steel
The short answer is durability and appearance. Brass resists corrosion better than steel in the wet, salty, and chemical-heavy conditions firefighters work in, and it holds a polish that plastic simply cannot match. That combination of material longevity and traditional aesthetic is the core reason brass helmet hardware has outlasted every cheaper alternative. NFPA standards for firefighter protective equipment set the baseline for what gear must withstand, and brass has met that bar for generations.
Corrosion Resistance and Material Longevity
Brass forms a thin surface layer of oxidation that protects the metal underneath, so it weathers instead of rusting through. Steel pits and weakens once its coating fails, and plastic cracks under UV light and heat. A brass front holder or seam band with occasional attention can outlast the helmet it's mounted on, which is why restorations reuse the original brass.
Weight Impact and Structural Integrity
Brass is denser than plastic, so it adds a little weight, but that weight sits low and centered on the crown. The trade-off is tensile strength: brass fasteners hold their grip through repeated flexing and impact in a way plastic studs do not. For structural firefighting, that reliability matters more than a few grams saved.
How to Install Brass Hardware on Your Helmet
Installing brass hardware rewards patience over force and takes most people under an hour with basic hand tools. Work on a clean, well-lit surface and lay out every part before you start so you can check fitment without hunting for pieces.
What You'll Need:
- Replacement brass front holder or seam bands
- Correct-size split rivets or dome head rivets
- Rivet setter or punch, small hammer, and a backing block
- Soft cloth and metal polish
Tools, Fastener Selection, and Fitment Systems
Match the fastener to the hole and leather thickness. Split rivets work best where you can access the inside of the shell; dome head rivets suit visible exterior seams. Set rivets with light, even strikes, heavy blows deform the dome and crack aged leather. Before you commit, check that the holder sits flush against the crown with no gap or pinch points.
Compatibility with MSA, Cairns, and Morning Pride Helmets
Compatibility is where most online orders go wrong. Hole spacing and crown curvature differ between helmet models, so a holder that fits one shell may not sit flush on another. Measure your existing mounting holes before ordering and confirm the maker lists your model. EH Coverings designs its brass front holders to fit MSA and E.H. Coverings style leather helmets as well as the TL2, plus Cairns 1010 and 1044 and the Morning Pride Ben 2.
How to Polish Fire Helmet Brass
Polishing fire helmet brass is a five-minute routine if you stay ahead of the tarnish, but the real skill is understanding what you are polishing. Brass is an alloy of copper and zinc, and the copper that gives it its warm color reacts with moisture, sweat, and the acids in smoke to form tarnish (pubmed.ncbi.nlm.nih.gov). Left alone, that tarnish hardens into a dull brown film, then green verdigris around rivets and seam bands, and eventually pitting no polish will remove. The goal is not shine today, it is keeping the surface from ever reaching the pitting stage.
Bare Brass vs. Lacquered Brass
Before you touch a cloth to the metal, figure out which finish you have. Most traditional front holders and seam bands are bare brass meant to be polished. Some decorative and reproduction pieces ship with a clear lacquer coat that holds a shine without work. Polishing a lacquered piece with an abrasive cuts through the coating in patches and leaves a blotchy surface that tarnishes unevenly. Test a hidden edge with polish on a cotton swab: a green-black cloth means bare metal; a clean cloth and slick surface means lacquered. Lacquered brass only needs a damp cloth, never an abrasive.
The Long-Term Oxidation Protocol
A single polish does not stop oxidation; it resets the clock. What keeps brass bright over years of service is a repeatable cycle that removes surface tarnish before it bonds, then leaves a barrier behind.
- Rinse first, polish second. Smoke residue and road grit are abrasive. Wipe the hardware with a soft cloth and warm water before any polish touches it, or you will grind that grit into the surface.
- Dry completely. Water trapped under a front holder or behind a seam band is the number one cause of the green corrosion that creeps out from under rivets. A hair dryer on low, or a few minutes in open air, beats a towel for the crevices.
- Use a brass-specific polish, not a general metal cleaner. Products formulated for brass leave a protective film; general-purpose cleaners and abrasive pads strip the surface and accelerate the next round of tarnish.
- Buff with a clean, dry cloth until no residue remains. Residual polish holds moisture and dust.
- Seal with a thin coat of paste wax. A carnauba-based paste wax, applied thin and buffed clear, is the single most effective step for slowing tarnish. It is also the step most people skip.
Treating Verdigris and Pitting
Green verdigris around rivets and under seam bands means moisture has been sitting against the leather. Wipe it away with a cloth dampened with white vinegar, neutralize with a baking soda and water paste, rinse, and dry thoroughly. If you find dark pits that catch a fingernail, corrosion has gone below the surface, polishing only makes the pits shinier, and the piece is a candidate for replacement, not restoration. That is the practical reason to inspect hardware on a schedule rather than waiting for it to look bad.
A Maintenance Schedule That Actually Holds Up
| Task | Frequency | Time Needed |
|---|---|---|
| Wipe down with soapy water and dry fully | After every dirty shift | 2 minutes |
| Inspect rivets, bands, and crevices for verdigris | Weekly | 1 minute |
| Full polish and buff | Monthly, or as tarnish appears | 5-10 minutes |
| Paste wax seal | Every 2-3 months | 5 minutes |
| Deep clean and re-seal before winter | Once a year | 20 minutes |
Fire Helmet Brass Band Conversion
A fire helmet brass band conversion swaps worn or broken seam bands for new brass ones, one of the most common upgrades on older leather helmets. The job is straightforward on a healthy shell and unforgiving on a tired one, so the real work happens before you pick up a rivet setter. Brass seam bands from EH Coverings come in sets of four and are sold without rivets, so order fasteners at the same time.
When a Conversion Is Worth Doing
Not every helmet should get new bands. The deciding factor is the leather under the old band, not the condition of the brass. Lift one edge of the old band and look at the seam. If the leather is firm, evenly colored, and holds its shape when pressed, the shell will accept new rivets cleanly. If it is soft, cracked along the stitch line, or spongy, new rivets will pull through within a season and you will have spent the money twice. In that case, the helmet needs leather repair or replacement before new hardware.
Rivet Sizing and Selection
Split rivets and dome head rivets are not interchangeable, and the wrong size is the most common reason a conversion fails.
- Split rivets bend open on the inside of the shell. They are the traditional choice for seam bands because the bent legs lock against the leather and resist pulling back through. They work best where you can reach the inside of the shell to set them.
- Dome head rivets give a smooth, finished exterior and are common on front holders and visible crown work. They need a solid backing block behind the leather when you set them, or the strike will deform the dome.
- Length matters more than diameter. A rivet that is too short will not grip; one that is too long will bend over instead of locking. Match the rivet length to the combined thickness of the band and the leather at that point, and test-fit one rivet in a scrap of similar leather before you touch the helmet.
Step-by-Step Conversion
- Photograph the helmet before you start. Note the position of every band and rivet so you can match the original layout.
- Remove the old rivets carefully. Support the leather from behind and drill or punch only the rivet head, never through the leather. A dull bit will walk and tear the seam.
- Lift the old band and clean the leather underneath. Decades of trapped moisture and verdigris collect here. Wipe it clean and let it dry fully.
- Dry-fit the new brass band. It should sit flush along the seam with no gap and no rocking. If it does not, stop and check the band against your helmet model before drilling.
- Set fresh rivets through the existing holes. Use light, even strikes. Heavy blows deform the dome, crack aged leather, and can bend the band out of alignment.
- Check for pinch points on the inside. Run a finger along the inside of the seam. Any rivet leg or band edge that protrudes into the wearer's space must be dressed down or reset.
Common Failure Modes
The conversions that go wrong usually go wrong in predictable ways. Enlarging a hole to force a band to fit weakens the leather and leaves a gap where water collects. Reusing wallowed-out rivet holes gives the new rivet nothing to grip. Setting rivets on damp leather traps moisture under the band and starts verdigris within weeks. Skipping the inside inspection leaves pinch points the wearer will feel on the first shift.
Best Fire Helmet Front Holders for Your Career
The best fire helmet front holder fits your shell, holds your front piece securely, and still looks right after a decade of shifts. For most career firefighters, that means solid brass with a proven fitment list rather than the cheapest option online.
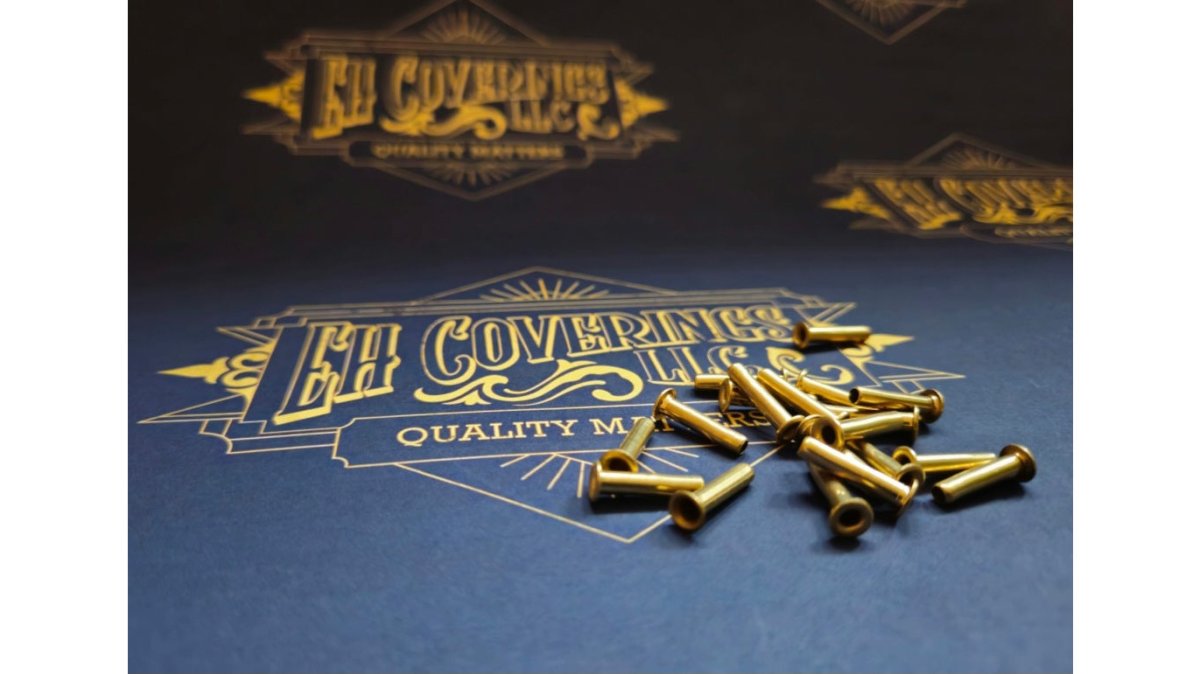
EH Coverings makes its brass from all American material, produced by American workers in an American factory. The All American Brass Front Holder fits MSA and E.H. Coverings style leather helmets as well as the TL2, plus Cairns 1010 and 1044 and the Morning Pride Ben 2, and it's built to last a career. The Customizable All American Brass comes in brass, matte black, or gloss black, with three rivets included. For a full refresh, brass seam bands replace worn bands on leather helmets, and loose brass rivets for the front holder and crown come in sets of five.

For a deeper look at how these parts are made and what fits your helmet, check the EH Coverings brass hardware collection and confirm your model before ordering. If your department has rules about helmet modifications, review them against NFPA 1971 helmet requirements before you install anything.
Choosing hardware for a duty helmet comes down to fitment, durability, and whether the part will still be on your helmet at the end of your career. EH Coverings builds brass front holders and leather helmet accessories from all American material, produced by American workers in an American factory, designed to fit MSA, E.H. Coverings, Cairns, and Morning Pride helmets. Every piece is made to last a career, with customization options when you want a different finish. Get started with EH Coverings and add to cart with confidence that your gear will hold up on the job.
Frequently Asked Questions
What are the primary benefits of using brass for fire helmet hardware?
Brass helmet hardware resists corrosion, holds its shape under impact, and develops a traditional patina that many firefighters prefer. Unlike plastic, brass won't crack from heat cycling or UV exposure. Unlike steel, it won't rust through after repeated exposure to water and smoke. Brass rivets and front holders also carry a classic aesthetic that matches leather helmets, and they can be polished or left to age naturally depending on your preference.
How does brass hardware compare to standard plastic or steel components?
Plastic hardware is lighter and cheaper but becomes brittle over time, especially after heat exposure. Steel offers strength but corrodes without frequent coating. Brass sits between them: it's heavier than plastic but far more durable, and it naturally resists oxidation better than untreated steel. For structural firefighting, brass rivets and seam bands hold up to repeated impact and moisture without the failure points you see in plastic clips or painted steel fasteners.
Is brass hardware compatible with all industry-standard fire helmets?
Most brass front holders and seam bands are designed to fit common leather helmet models including MSA, Cairns 1010 and 1044, Morning Pride Ben 2, and TL2. Fitment depends on the mounting stud pattern and rivet hole spacing. Before ordering, check your helmet's front holder mounting style and rivet hole diameter. If you have an older Cairns helmet, measure the existing stud spacing to confirm the replacement holder will seat without modification.
How do you properly maintain brass helmet hardware to prevent tarnishing?
Wipe brass hardware with a soft cloth after each use to remove soot and moisture. For deeper cleaning, use a brass polish with a lint-free cloth, working in small sections. Avoid abrasive pads that scratch the surface. Some firefighters prefer to let brass develop a natural patina for a traditional look; others polish regularly for a bright finish. Either way, check rivets and seam bands every few months for looseness or corrosion at contact points.